From Dirt to Delight: The Installation Process of Artificial Grass
Have you ever stopped to admire the lush green lawns in your neighborhood and felt a sense of calm (or jealousy) wash over you?
Unfortunately, not all of us have the time or resources to maintain a natural lawn. That’s where artificial grass comes into play. It’s not just about having a green lawn; it’s about transforming outdoor space into a personal oasis without the fuss.
Intrigued?
Stick with us as we dive into the artificial grass installation process, and discover how Northern Pools & Landscape Design can turn your dirt patch into a delightful green haven.
What is Artificial Grass?
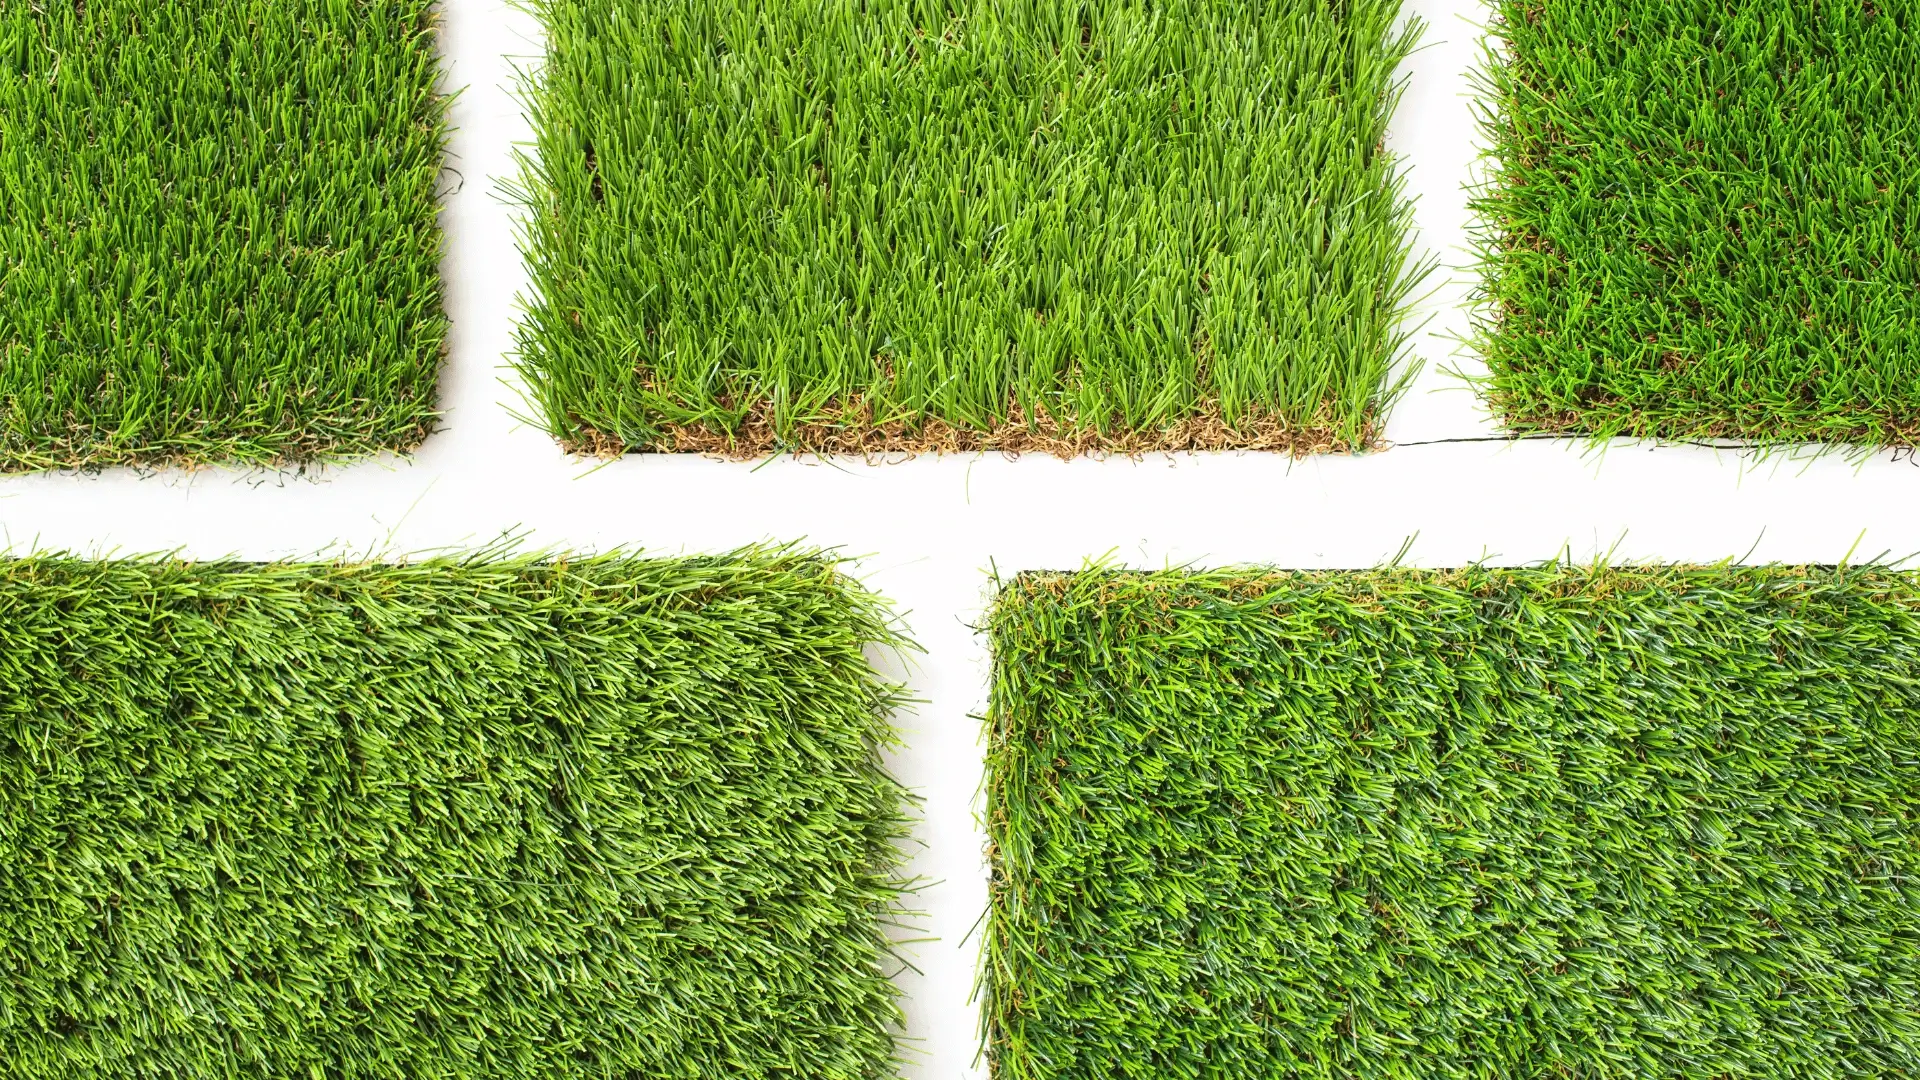
Artificial grass, also known as synthetic grass or turf, is a fantastic alternative to natural grass. Introduced in the 1960s, it was initially used in sports arenas where maintaining real grass was a challenge.
But the beauty of grass isn’t confined to stadiums anymore.
Artificial grass has become a popular choice for homeowners, thanks to its realistic appearance and low maintenance. It’s like having the best of both worlds – the beauty of grass without the constant upkeep.
Advantages of Artificial Grass
So, why are people raving about artificial grass? Let’s break it down:
- Cost-Effective: Once installed, artificial grass requires minimal maintenance. Say goodbye to mowing, watering, and fertilizing. Your wallet will thank you!
- Water-Saving: With synthetic turf, you’re not just saving money; you’re saving precious water resources. It’s a win-win for you and the environment.
- Safe for Children and Pets: Artificial grass lawns are free from harmful chemicals and pesticides, making them a safe play area for your little ones and furry friends.
- Versatility: From backyard putting greens to balcony decor, artificial turf is transforming outdoor space in ways you never imagined. Whether it’s a pet area or an outdoor play space, the possibilities are endless.
- Low Maintenance: Forget about the endless weekends spent mowing and weeding. With artificial grass, you get to enjoy the green without the green thumb.
Availability: Getting your hands on quality artificial turf has never been easier.
The Installation Process of Artificial Grass
Transforming outdoor space with synthetic turf is an exciting project that can bring beauty and functionality to your yard. Whether you’re a DIY enthusiast or just curious about the process, this guide will walk you through the turf installation process. Let’s get started!
Preparing the Surface
Before you even think about laying down synthetic turf, you’ll need to prepare the surface. This is the foundation of your new lawn, so it’s crucial to get it right. Here’s what you need to know:
- Soil Type: Whether it’s loose soil or a concrete surface, make sure the entire surface is well-draining.
- Clearing the Area: Remove any debris, rocks, or old grass to create a clean slate.
Leveling and Compacting the Ground
An even and stable surface is key to a successful turf installation. Here’s how to achieve it:
- Leveling the Surface: For an uneven surface, use tools like a vibrating plate compactor or roller to make everything completely level.
- Choosing the Right Base Material: Finely crushed rock is recommended. Spread it evenly and compact with water to achieve around 15mm to 20mm sub-base depth.
Laying a Base Material
The base material supports your artificial grass and helps with proper drainage. Here’s what to consider:
- Types of Base Material: You can use type 1 stone, gravel, crushed rock, or smaller stones or rocks.
- Function: The base material acts as a solid foundation and assists in drainage.
Installing an Even Surface
Now, it’s time to install an even surface for your synthetic turf. Here’s how:
- Choosing the Right Material: Consider using a ¾” road base for a compact and level surface or ¾” clear crush for areas with poor drainage.
- Rolling Out the Grass: Carefully roll out the turf over the installation area, avoiding dragging to maintain a smooth surface.
- Removing the Current Surface: Make sure to remove the current surface, including any weeds and rocks, before addressing the even surface installation.

Installing the Turf
The moment has arrived! Installing the turf is where your dream of transforming outdoor space starts to become a reality. This step is all about laying down the synthetic turf, grass on dirt, and making sure it fits perfectly.
Whether it’s an artificial grass roll or individual pieces, this stage requires precision and care. After all, your artificial lawn is going to be the star of your outdoor space, so let’s make sure it shines!
Measuring Square Footage for Turf Pieces
First things first, you’ll need to measure the square footage for the turf pieces. Here’s how:
- Calculate the Area: Measure the length and width of the area you intend to cover. Don’t forget to account for any joining required if using multiple pieces of turf.
- Align the Edges: Ensure the edges of the turf pieces are close but not touching or overlapping.
- Secure the Turf Tape: Roll out the turf tape and secure it in place using adhesive. This will keep your turf strips and pieces of turf perfectly aligned. Remember, getting the square foot measurements right is crucial for a seamless look.
Cutting Turf Pieces
Next, you’ll be cutting the turf pieces to fit your space. Here’s what you need to know:
- Use a Sharp Tool: Make sure you have a utility knife or carpet cutter with a new blade.
- Trim the Turf: Pull back the grass to expose the backing and cut it away, ensuring the backing is tight against the edge without touching.
- Cut Around Corners: For cutting around corners or objects, make relief cuts starting from the outermost point and cut from the backing out to the edge. Precision is key here, so take your time and make those cuts count!
Placing Turf Pieces on the Surface
Now it’s time to place those turf pieces on the surface. Here’s how:
- Roll Out the Turf Tape: Along the entire length of the artificial turf, ensuring proper alignment of the separate pieces without touching or overlapping.
- Secure the Turf Tape: Remove the adhesive protection and walk over the joining spot to secure it in place.
- Align the Pieces: Make sure the artificial grass sections and artificial turf patches align perfectly. Patience and attention to detail will make this step a breeze!
Last but not least, let’s talk about pavers and interlocking concrete blocks. These beauties offer ease of installation and a wide range of design possibilities. Whether you’re into concrete pavers or brick pavers, the options are endless.
These steps are perfect for both residential and commercial landscape projects, and they come with some serious advantages. They’re versatile, easy to install, and they add a touch of class to any outdoor space.
Securing Seam Tape Between Adjacent Pieces of Turf
Securing the seam tape between adjacent pieces of turf is crucial for a professional look. Here’s how to do it:
- Align the Edges: Match the lines on the seaming tape and apply pressure to ensure a secure bond.
- Keep the Gaps Tight: Maintain gaps between the turf pieces within 1/8 of an inch.
- Use the Right Tape: Artificial grass seam tape is designed for this purpose, so make sure to use it. This step ensures that your turf looks seamless and beautiful.
Ensuring Proper Drainage
Last but not least, proper drainage is essential for the longevity of your synthetic turf. Here’s how we ensure it:
- Plan for Drainage: If you have poorly draining soil, it’s important that you have an efficient drainage system.
- Water the Area: This compacts the base layer and prevents it from washing away.
- Consider Additional Layers: An additional drainage layer or drainage channels can help with drainage issues. Proper drainage ensures that your turf stays beautiful and functional for years to come.
Transforming outdoor space with synthetic turf is an exciting project that can add beauty and functionality to your yard. With careful planning and attention to detail, you can achieve a professional-looking result.
Finishing Touches
You’re almost there! The synthetic turf is laid, and your outdoor space is transforming right before your eyes. Now it’s time for the finishing touches that will make your turf installation truly shine. Here’s how to add those final details:
- Clean Up: Use a shop vac to remove excess infill, and a power broom to brush the grass blades against the perimeter wall. A leaf blower and garden hose will help remove debris and rinse the grass blades.
- Add Sand: Consider adding sand infill, such as silica sand, for a natural-looking finish. A plate tamper can help you achieve the right inches deep.
- Brush It Up: A power brush or landscape rake will give your grass a fresh, upright look.
- Secure the Edges: Landscaping anchor pins will secure the edges, whether it’s a patio edge or a curved edge.
- Personal Touches: Think about planting flowers or placing a picnic table to make the space your own.
These finishing touches are all about making your synthetic turf look and feel just right. It’s the attention to detail that takes your turf from good to great.
Conclusion
Transforming outdoor space with synthetic turf is more than just a home improvement project; it’s a chance to create a little oasis right in your backyard. From the first measurements to the final sweep, every step in the turf installation process is about bringing you closer to easy maintenance.
Feeling inspired? Ready to take the plunge and transform your outdoor space?
Northern Pools & Landscape Design are professional installers with a passion for landscape. We’re here to help you every step of the way. Contact Northern Pools & Landscape Design today, and let’s turn your outdoor space into a green paradise. Happy turf installation!
Tags: